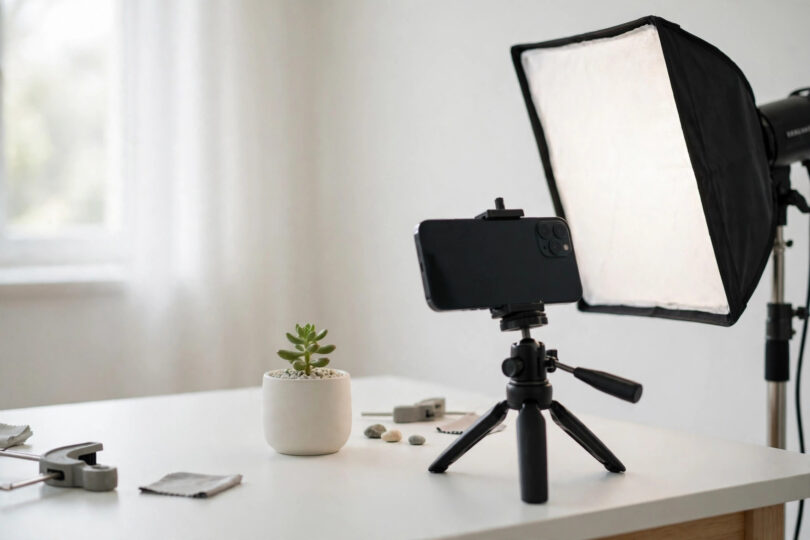

Online shoppers cannot touch, hold or try your product, so your photos do all the persuading. Product photography for ecommerce is therefore one of the highest-return investments a small store can make: better photos raise conversion, reduce returns, and make a modest product look like a premium one. Product photography for ecommerce does not require a studio or expensive gear. With a phone camera, natural light and a consistent setup, you can produce clean, trustworthy images that compete with big brands. This guide covers lighting, backgrounds, angles, lifestyle shots, and the editing habits that keep your store looking professional.
Light Is Everything
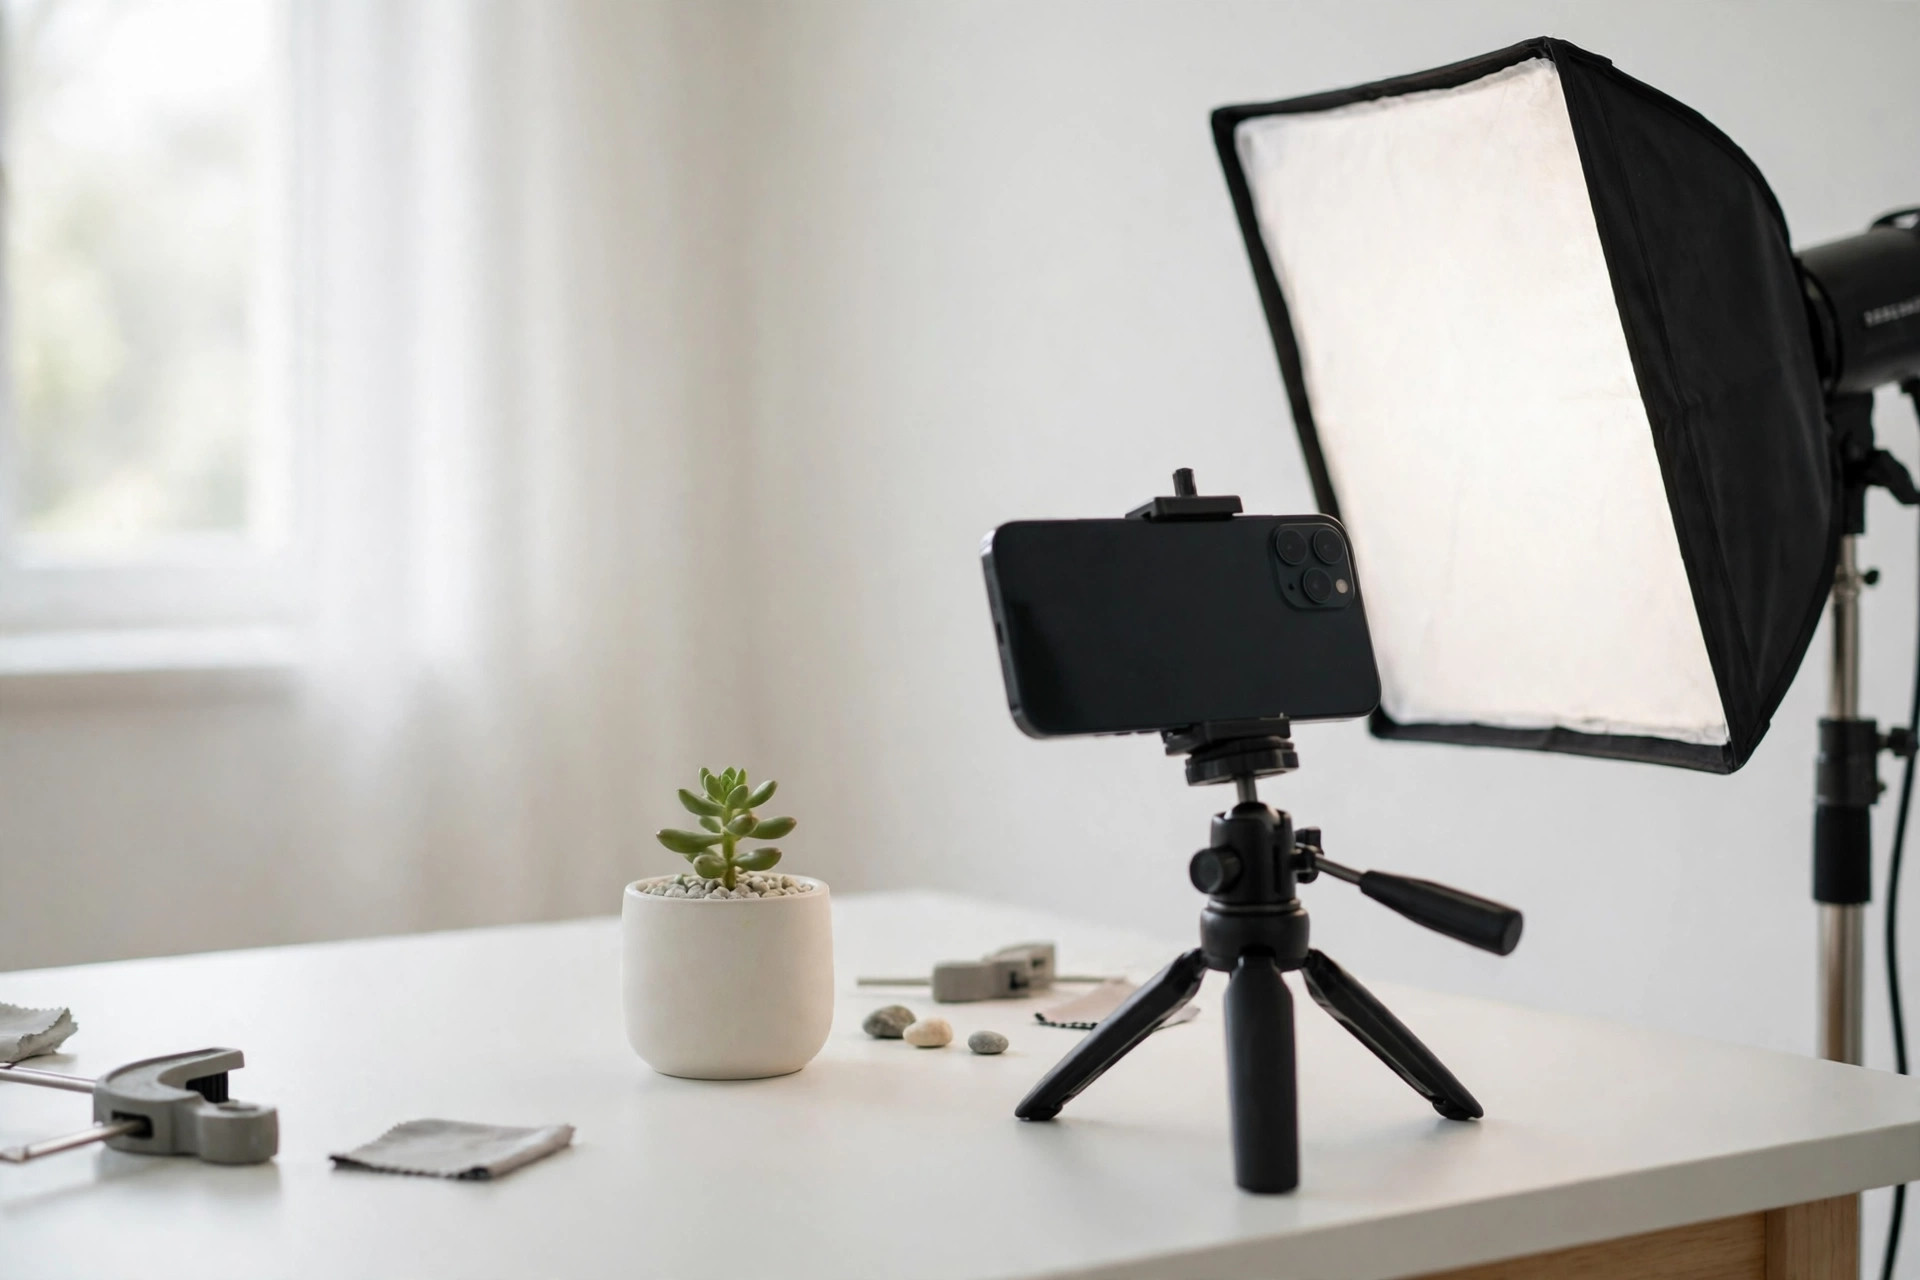
Good lighting matters more than an expensive camera. Harsh overhead light creates ugly shadows, while soft, diffused daylight makes products look clean and true to colour. Shoot near a large window on a bright but overcast day, or use a simple white diffuser if the sun is strong. Avoid mixing light sources, such as daylight plus yellow room lamps, because the colours will look wrong and editing cannot fully fix them. If you shoot regularly, two affordable softbox lights pay for themselves quickly by letting you shoot at any hour with consistent results.
Consistency is the real goal. Use the same lighting, background and camera position for every product in a range, so the store looks like one brand rather than a collection of random listings. Shoppers notice inconsistency even when they cannot name it, and it quietly undermines trust. Before photographing a full range, shoot one product, review it on a phone and a laptop, and lock in your setup before repeating it.
The Shots Every Product Needs
At minimum, every product needs five shots. First, a clean hero shot on a plain white or light background, showing the whole product clearly. Second, a close-up that reveals texture, material or craftsmanship. Third, an angled or three-quarter view that shows depth. Fourth, a scale shot that shows the product in a hand, on a table, or beside a familiar object, so shoppers understand its real size. Fifth, a lifestyle shot of the product in use, which helps shoppers imagine owning it. Products with moving parts, compartments or variations need additional shots showing each feature.
Scale shots deserve special emphasis, because wrong size expectations are a leading cause of returns. A bag that looks large in a hero shot but arrives small disappoints the customer no matter how good the product is. The same principle applies to colour: photograph under neutral light and avoid heavy filters, so the colour on screen matches the colour in the parcel. Stores choosing what to sell can apply the same care to research, as winning product research shows: accurate presentation starts with choosing products you can describe and photograph honestly.
Lifestyle Photos That Sell the Feeling
Hero shots explain a product; lifestyle shots sell it. A candle photographed lit on a bedside table, a backpack worn on a morning commute, or a kitchen tool mid-use all help shoppers picture the product in their own lives. You do not need models or exotic locations: a tidy home corner, a willing friend, and natural light are enough. Keep lifestyle shots honest, showing the product as it really looks, and use them after the clean hero shots so shoppers see facts before feeling.
Editing Without Overdoing It
Editing should correct, not deceive. Adjust brightness, contrast and white balance so the image matches the real product, straighten crooked shots, and remove dust or background marks. Do not reshape the product, change its colour, or erase flaws that the customer will discover on arrival; that path leads to returns and bad reviews. Save images at a size that loads fast on mobile, typically under two hundred kilobytes, and name files descriptively so they also support your search visibility.
A consistent editing preset, applied to every photo, is the fastest route to a professional-looking store. Whether you use a free phone app or desktop software, save your adjustments once and reuse them, checking the results on a phone screen where most shoppers will see them. Guidance in product research methods makes the same point about systems: a repeatable process beats occasional bursts of effort every time.
Common Photography Mistakes
- Only one photo: a single angle leaves shoppers guessing and kills confidence.
- Cluttered backgrounds: busy rooms distract from the product and look unprofessional.
- Heavy filters: colours that do not match the delivered product cause returns.
- Inconsistent style: mixed lighting and backgrounds make a store look like a marketplace stall.
Phone Cameras and Batch Shooting
Modern phone cameras are more than good enough for most online stores, provided you use them properly. Turn off the flash, which creates harsh shadows and false colours, and use the rear camera rather than the front one for sharper detail. Tap the screen to focus on the product itself, hold the phone steady or use a small tripod, and shoot slightly wider than you need so you can crop later. If your phone offers a manual or pro mode, lock the white balance to daylight when shooting near a window, which keeps colours consistent across a whole range instead of shifting with every shot.
Batch shooting saves even more time. Instead of photographing products one at a time whenever a new item arrives, set aside one morning a month, keep your lighting and background in place, and photograph everything new in one session. Edit the whole batch with the same preset, export the images at consistent sizes, and file them with descriptive names straight away. This routine turns photography from a chore that delays every launch into a quick, repeatable step. It also keeps your store visually consistent, because every product shot in the same session shares the same light, background and style, which is exactly what shoppers associate with professional, trustworthy stores.
Conclusion
Great product photography for ecommerce is a skill any store owner can learn: soft natural light, a consistent setup, five essential angles, honest lifestyle shots, and light editing that corrects rather than deceives. Photograph one product properly this week using this checklist, compare its results with an older listing, and you will see why photos deserve as much attention as pricing or advertising. In a store where customers cannot touch anything, your images are the product, and they are working for you on every single visit.